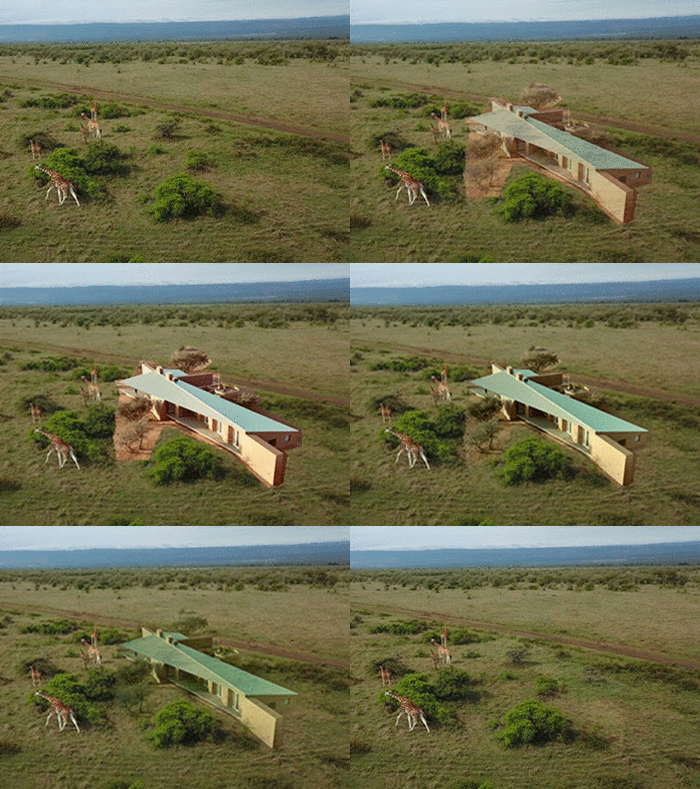
Image Synthesis Study 2
Automated Image Blending Tool
Overview
This study proposes an algorithmic method to seamlessly blend two photos together into a single, natural looking rendering. Typically, this process is complete manually via a photo editing software such as photoshop and may take tens of minutes to hours to complete depending on the size and accuracy of the final image required. With this method, we can achieve similar, if not superior results within a fraction of the time.
The aim of this study is to use image processing techniques to autonomously and efficiently identify and cutout a source image, copy it to a specific location of a target image, modify the source image so that the indices of pixels in the source image and target image correspond, and output a natural looking and seamlessly blended image.
Step 1: Choose a Target & Source Image
To begin, users must select a source image and a target image. The source image will be the one in which content is copied from, and the target image is the one in which that content will be “pasted” into. As the algorithm does not modify perspective, images with similar vantage points and perspectives work best. Finally, similar matching backgrounds between the source and target image, for example the savannah grasslands shown here, helps to ensure a cohesive final image.
Step 2: Mask Content to Blend
A masking algorithm is used to define the source and target regions to blend. A graphic user interface allows the user to first select the content in the source image to copy, then change its size and orientation, and finally define where it will be pasted into the target image. The resultant output is a newly defined source image with the source image content moved to the corresponding x-y orientation that matches its position in the target image as defined by the user, as well as a mask image which highlights the source image pixel area to be copied.
Step 3: Split Source & Target Images into Seperate RGB Channels
In order to move forward, both the target and source image must be split into their three individual RGB channel components (red, green, blue). This will allow us to colour match each individual source channel to its corresponding target channel. For example, colour matching the source image red channel to the target image red channel. A false color filter has been added to the images below to better illustrate the specific RGB channel associated to each image.
Step 4: Compute the Source Image X & Y Gradients
An image can be described as a series of x-y gradients, or relationships between each one of its individual pixels and their surrounding pixel neighbours in the x and y direction. As each image pixel can be represented by a number, its relationship to its neighbour can be described by the difference between their pixel values. For example, the gradient between a red pixel with value of 10 and a neighbouring blue pixel with a value of 4 is 6, or 10 - 4 = 6. This difference is called the derivative. By calculating and recording the derivatives of each pixel within the entire image, we can thus calculate the overall gradient of an image. With an RGB colour image, we first need to separate the image into its 3 channels before calculating the gradient. In the next step, we compare this gradient to the target or background image gradient in which it is being copied into and adjust each pixel in order for it to blend in colour and intensity.
Simple equation to calculate derivative between two pixels.
x-y image gradient extracted from original source image


